Effect of initial state of gears on machining process selection
Gear as an important part of the power transmission, in all walks of life have a wide range of applications, whether in the traditional automotive, industrial manufacturing, or in the emerging aerospace, aviation, robotics, the roughness of the gear tooth surface, tooth meshing, gear transmission noise requirements are increasingly high.
A wide variety of gears are encountered in ZOTEC laboratory prototyping. Depending on the type of gear, its size, and area of application, the machining process and choice of abrasive will vary.
In the following case, where the gear type, size and field of application are the same, the process used is completely different, which is mainly due to the fact that the customer provided the gear prototype with a different pre-process.
pre-processing
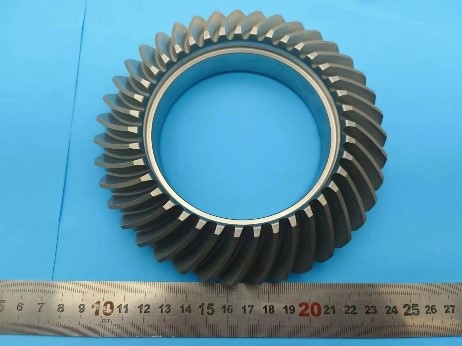
Overall view of workpiece A before machining
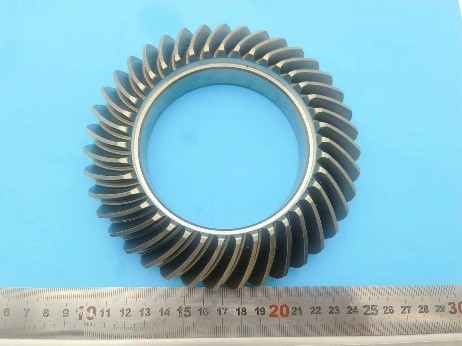
Overall view of workpiece B before machining
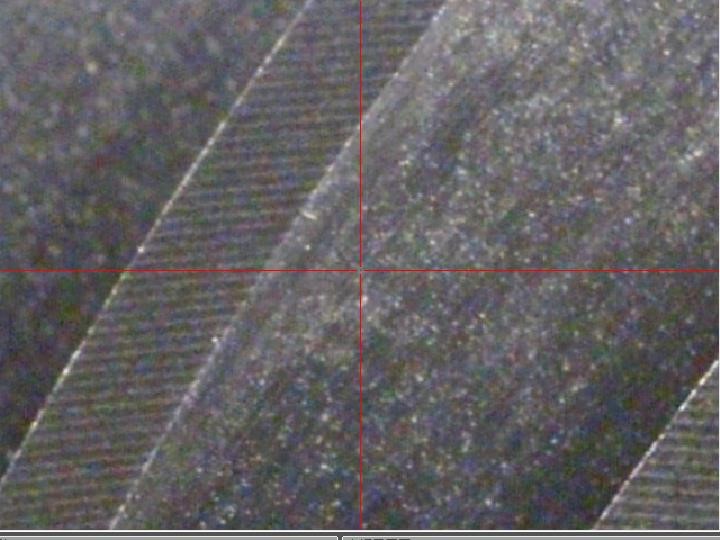
Picture of workpiece A before machining
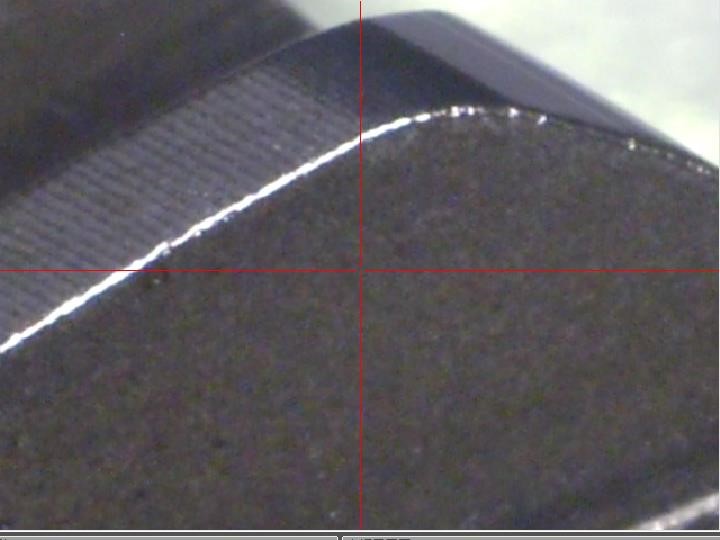
Picture of workpiece B before machining
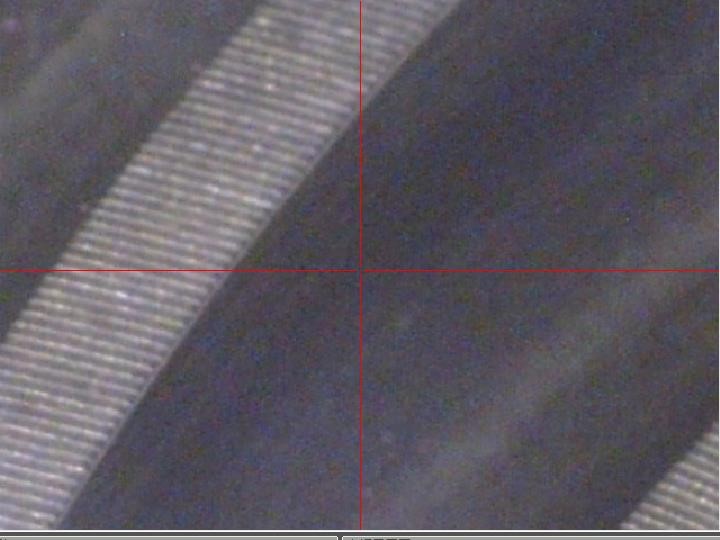
Picture of tooth surface after machining of workpiece A
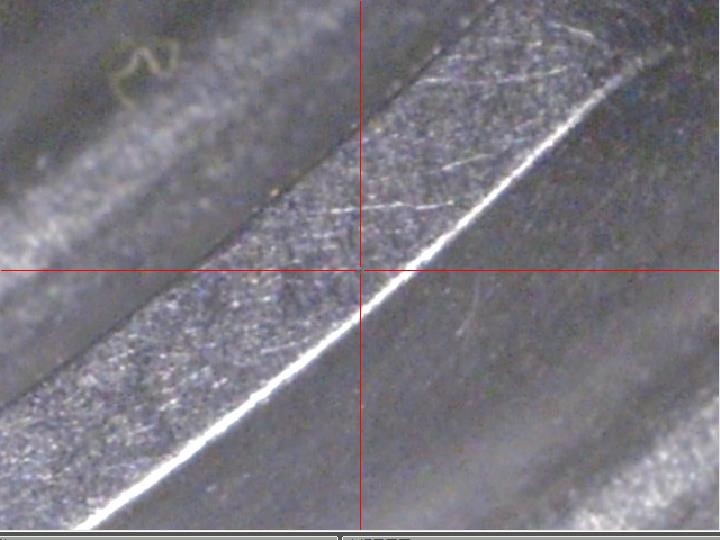
Picture of the tooth surface after machining of workpiece B
As can be seen from the picture comparison, the size of the gear type of the two workpieces are the same, but due to the provision of the workpiece B gear samples in the sampling before the shot peening, after shot peening, although the surface hardness of the gear becomes higher, the mechanical strength increases, fatigue life is extended, but along with the increase in hardness, the tooth surface of the treatment becomes more difficult, you need to extend the processing time, the replacement of abrasives, in order to remove shot peening in the top of the teeth left in the shot peening crater.
Understanding the state of the sample is therefore crucial to laboratory proofing, both to improve the efficiency of the proofing process and to better meet the needs of the customer.


